Introduction to Your DIY Key Return Holder
Are you tired of misplacing your keys? Creating your very own key return holder is a fun and practical project! In just a few simple steps, you can craft a stylish holder that keeps your keys organized and easily accessible.
Having a designated spot for your keys not only saves time but also reduces stress. Imagine walking in the door and knowing exactly where to find your keys every time.
This project is perfect for beginners. You don’t need to be a crafting expert to achieve great results. So, roll up your sleeves and let’s get started on this creative journey together!
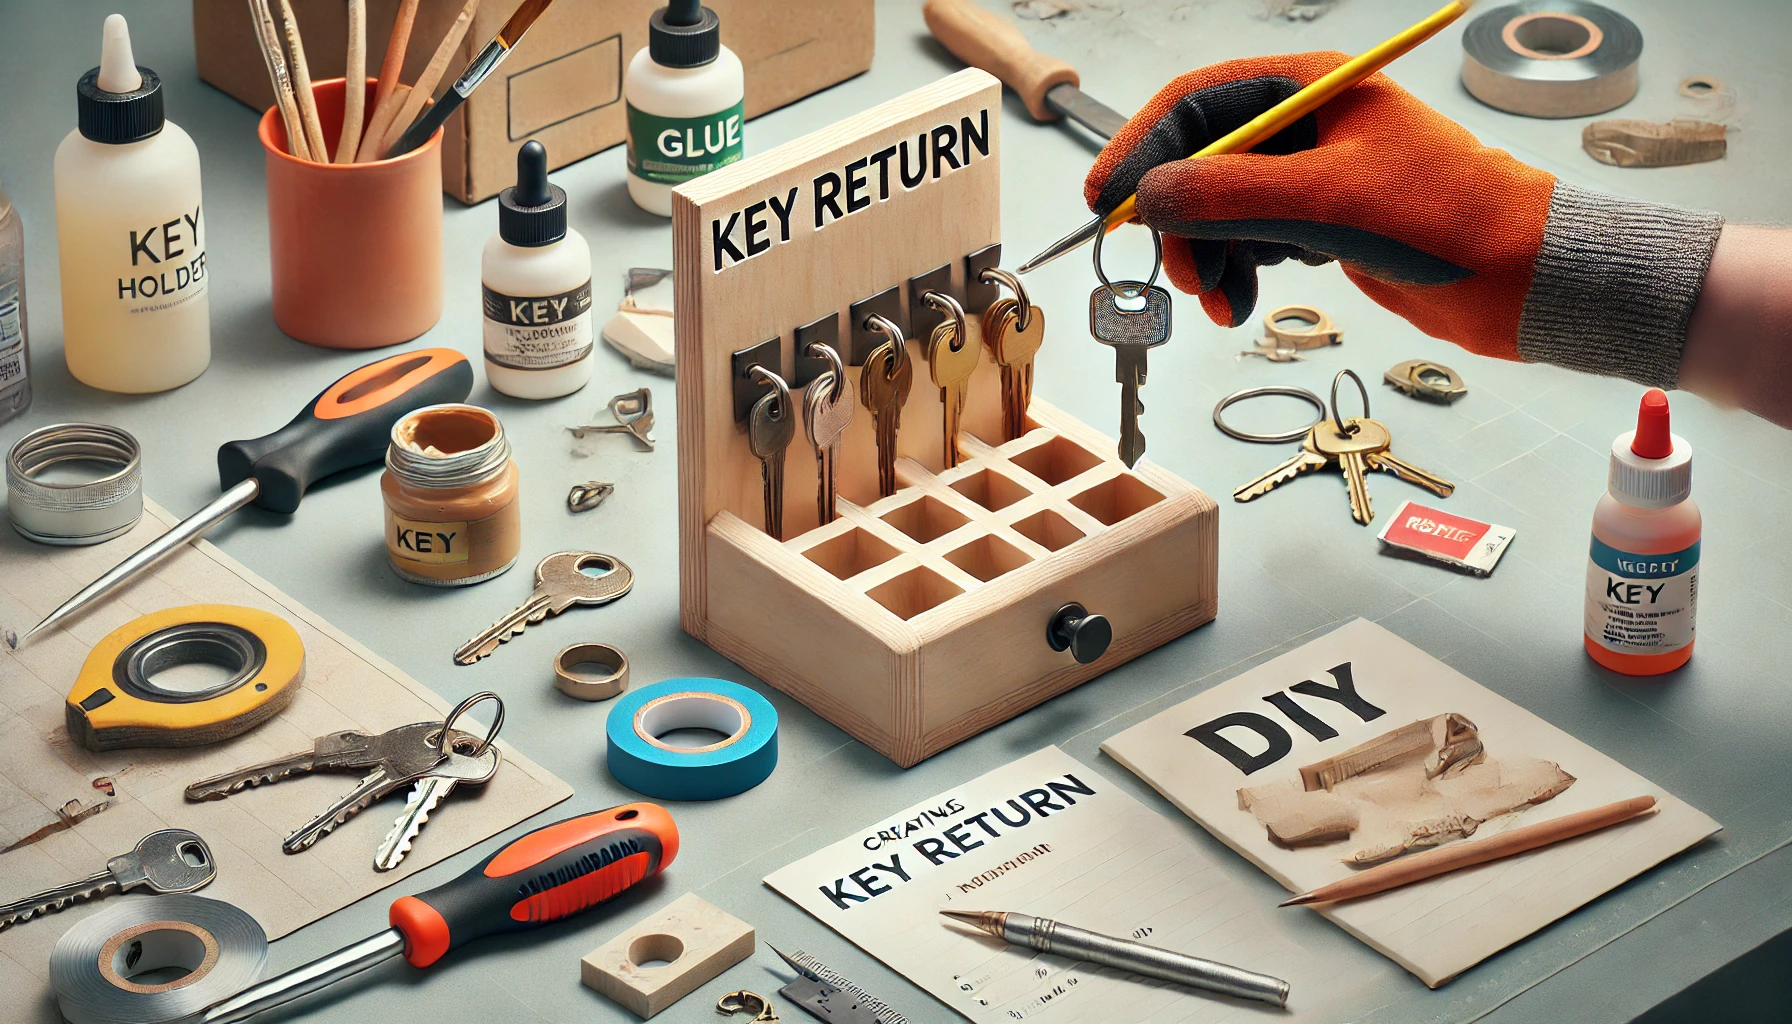
Materials and Tools You’ll Need
To create your own key return holder, gathering the right materials and tools is essential. Here’s a quick list to get you started:
- Solid Material: Choose plastic or wood that can support the weight of your keys. Ensure it’s about 1/4″ to 1/2″ deep for secure cup hooks. You can explore options like hangable art or picture frames.
- Decorative Items: Consider using shelves or tchotchkes to give your holder some personality.
- Drill: This is vital for making holes and driving screws into your material.
- Screwdriver Set: Necessary for assembling the various parts of your holder.
- Tape Measure: Essential for measuring your material accurately.
For finding these materials and tools, check local hardware stores or online DIY shops. Many offer great selections for your crafting needs!
Step 1: Design Your Holder
Designing your key return holder is an exciting first step! Start by choosing a design that reflects your personal style and complements your home decor. Whether you lean towards a rustic wooden slab or a modern resin piece, the options are endless. Check out some creative DIY key holder ideas for inspiration.
“Sketch your ideas! It helps to visualize your holder before you start crafting.”
Once you have a design in mind, it’s time to sketch it out. Here are some tips to guide you:
- Practice sketching regularly to improve your skills.
- Start simple with basic shapes and objects around you.
- Consider functionality: ensure your design includes enough hooks or rings for all your keys.
- Think about durability: choose materials that will withstand daily use.
Remember, your key return holder should not only look good but also be practical. By combining style and functionality, you’ll create a piece that is both beautiful and useful!
Step 2: Preparing the Base
Now that you’ve designed your key return holder, it’s time to prepare the base. Start by selecting the right material. While the best options can vary, consider using sturdy woods like pine or oak for durability and a nice appearance. These materials can give your holder a polished look while ensuring it lasts.
Once you have your material, it’s time for cutting and shaping. Measure your dimensions carefully, and mark them clearly. Using a saw, gently cut along the lines to shape the base to your desired size. Don’t rush; take your time to ensure precision.
“Always wear gloves while cutting to protect your hands from splinters and cuts.”
Remember, safety is paramount. Always wear Personal Protective Equipment (PPE) like goggles and gloves. Use sawhorses for long pieces to prevent slipping and keep your workspace tidy. By following these steps, you’ll create a solid foundation for your key holder while staying safe!
Step 3: Decorating Your Holder
Now comes the fun part—decorating your key return holder! Begin by selecting a paint type that suits your style. For a durable finish, consider using latex paint, which is water-based and non-toxic. For a vintage look, chalk paint is your best friend. Apply the paint using smooth strokes to achieve an even coat, allowing it to dry between layers.
Next, think about adding decorative elements. You can use colorful wooden dowels that serve as key holders or incorporate stickers and stencils for a unique touch. Consider these creative decoration ideas below:
| Decoration Idea | Difficulty Level |
|---|---|
| Colorful Wooden Dowels | Easy |
| Chalkboard Paint | Medium |
| Personalized Names or Initials | Medium |
Finally, personalize your holder with names or motifs. You can paint initials or attach charming symbols that reflect your personality. This step adds a special touch, making your key holder uniquely yours. Enjoy this creative process, and let your imagination run wild!
Step 4: Assembling the Holder
It’s time to bring your key return holder to life! Follow these simple steps to ensure a successful assembly:
- Attach Hooks or Holders: Start by deciding where you’d like to place the hooks for your keys. Use a drill to make small pilot holes, and then carefully screw in your hooks. Make sure they are evenly spaced and securely fastened to support the weight of your keys.
- Ensure the Structure is Sturdy: Before moving on, check the overall sturdiness of your holder. Gently tug on the hooks to see if they hold firm. If your base feels wobbly, consider reinforcing it with additional screws or brackets to ensure it can withstand everyday use.
- Test the Holder’s Functionality: Once everything is assembled, it’s time to test it out! Hang a few keys on the hooks and see how well they fit. Make sure you can easily grab and return them without any hassle.
“A well-assembled key holder not only looks great but also stands the test of time.”
This assembly process is crucial for the durability and functionality of your key return holder. For more tips on painting and finishing your project, check out this guide on paint types. Enjoy the satisfaction of seeing your creation come together!
FAQs About Your DIY Key Holder
As you embark on your DIY journey, you may have some questions. Here are some answers to common queries and helpful tips!
What are the most common mistakes beginners make? Many beginners take on projects that are too big for their skill level. It’s best to start small and gradually build your confidence. Also, be sure to measure accurately to avoid costly mistakes.
How do I troubleshoot issues while assembling? If you find that your holder feels unstable, double-check the screws and ensure everything is securely attached. If your hooks are uneven, you might need to reposition them for better balance. For more tips on common DIY problems, check out this resource.
What maintenance should I perform on my key holder? Regular cleaning is essential! Dust it often and clean with a damp cloth. Avoid extreme temperatures and direct sunlight to preserve the wood. For deeper scratches, use a wood filler that matches the color of your holder. You can find more maintenance tips here.
By keeping these tips in mind, you can enhance your DIY experience and maintain the beauty of your key return holder for years to come!
Conclusion: Enjoy Your New Key Holder
Congratulations on completing your DIY key return holder! You’ve journeyed through the design, assembly, and decoration stages, transforming simple materials into a functional piece for your home. Each step has contributed to creating something uniquely yours.
Now it’s time to show off your handiwork! I encourage you to share your creations with friends and family, or even on social media. Your project might inspire someone else to take on their own DIY adventure!
If you have any questions or feedback about this process, please don’t hesitate to reach out. For common DIY challenges, check out these helpful solutions. Happy crafting, and enjoy your new key holder!