Do you love a good DIY project that is both practical and stylish? Learning how to make your own custom storage boxes is an excellent way to stay organized without breaking the bank. Whether you’re looking to declutter your living space, organize your crafts, or simply add a touch of personality to your home, creating personalized storage solutions can be easy, fun, and cost-effective.
This guide will walk you through everything you need to know to design and build unique storage boxes using budget-friendly materials. Expect detailed instructions, tips for sourcing inexpensive supplies, and creative ideas to make your boxes truly stand out.
The Benefits of Making Your Own Storage Boxes
Before we jump into the “how-to,” let’s take a moment to explore why making your own custom storage boxes is such a rewarding endeavor:
1. Cost-Effective Solutions
Instead of spending a fortune on store-bought organizational tools, you can use inexpensive materials (or even repurpose items you already have at home). With custom storage boxes, you get stylish results at a fraction of the cost.
2. Personalized Designs
Store-bought storage options often come with limited color and design choices. By making your own, you can customize every detail to match your home décor or personal preferences.
3. Environmental Benefits
Upcycling old materials like cardboard boxes, fabric scraps, and old magazines allows you to reduce waste and practice sustainable crafting.
4. Creative Expression
DIY projects like this are a fantastic way to exercise your creativity. From choosing patterns to adding embellishments, the process itself can be incredibly satisfying.
Now that you know the “why,” it’s time to get started on the “how.”
Materials You’ll Need
The great thing about DIY storage boxes is that you can get most of the supplies either cheaply or for free. Here’s a list to get you started:
Basic Materials
- Cardboard boxes (recycled ones work perfectly)
- Glue (hot glue, craft glue, or a glue stick depending on the material)
- Scissors or a craft knife
- Ruler or measuring tape
- Decorative paper, wrapping paper, or old fabric
- Paint (optional)
Decorative Add-Ons
- Ribbons, lace, or trim
- Old buttons or beads
- Washi tape or adhesive labels
- Stencils for adding patterns
- Handles (you can repurpose old drawer handles)
Tools
- Pen or pencil for marking
- Cutting mat (to protect surfaces while cutting)
- Paintbrushes
Now that you’re equipped with the materials list, it’s time to proceed with the steps to create your storage boxes.
Step-by-Step Guide to Making Custom Storage Boxes
Step 1. Select Your Box
The first step is to choose the right cardboard box for your project. Think about the purpose of your storage box:
- Small-sized boxes: Great for organizing small items like stationery, jewelry, or craft supplies.
- Medium-sized boxes: Perfect for items like books, toys, or clothing.
- Large boxes: Ideal for bulkier materials like blankets, shoes, or seasonal décor.
Make sure the box is sturdy and in good condition. Reinforce the edges with additional tape if necessary.
Step 2. Prep Your Box
Trim any excess flaps or uneven edges using a craft knife or scissors. If your cardboard box has branding, you can either paint over it or cover it with decorative materials.
Step 3. Choose a Theme
Before you start decorating, decide on the overall look you want your storage box to have. Here are a few ideas:
- Rustic: Use burlap, twine, and earthy colors.
- Modern: Opt for neutral tones, metallic accents, and clean lines.
- Playful: Try bold colors, patterned papers, and fun embellishments.
- Upcycled Chic: Use a mix of materials like old maps, newspapers, or vintage fabric.
Step 4. Add Decor to the Outer Box
This is where you can really get creative! Use glue to adhere your chosen material (fabric, paper, or wrapping paper) to the box’s exterior. Smooth out wrinkles and bubbles for a neat finish. If you’re painting the box, apply a primer first and layer on multiple coats for even coverage.
Pro Tip: If using patterned fabric, spray adhesive works best for an even, secure hold.
Step 5. Create Dividers (Optional)
If your box is intended to store multiple categories of items, dividers can be a great addition. Cut pieces of sturdy cardboard to the right dimensions and glue them inside the box. Cover the dividers with the same material you used for the box exterior to maintain a consistent look.
Step 6. Add Decorative Touches
Here’s where you can add ribbons, trims, or labels for added functionality and aesthetic appeal:
- Ribbon Trim: Glue ribbon or lace along the edges of the box for a polished look.
- Handles: Attach small drawer handles or even braided rope to the sides of the box for easy portability.
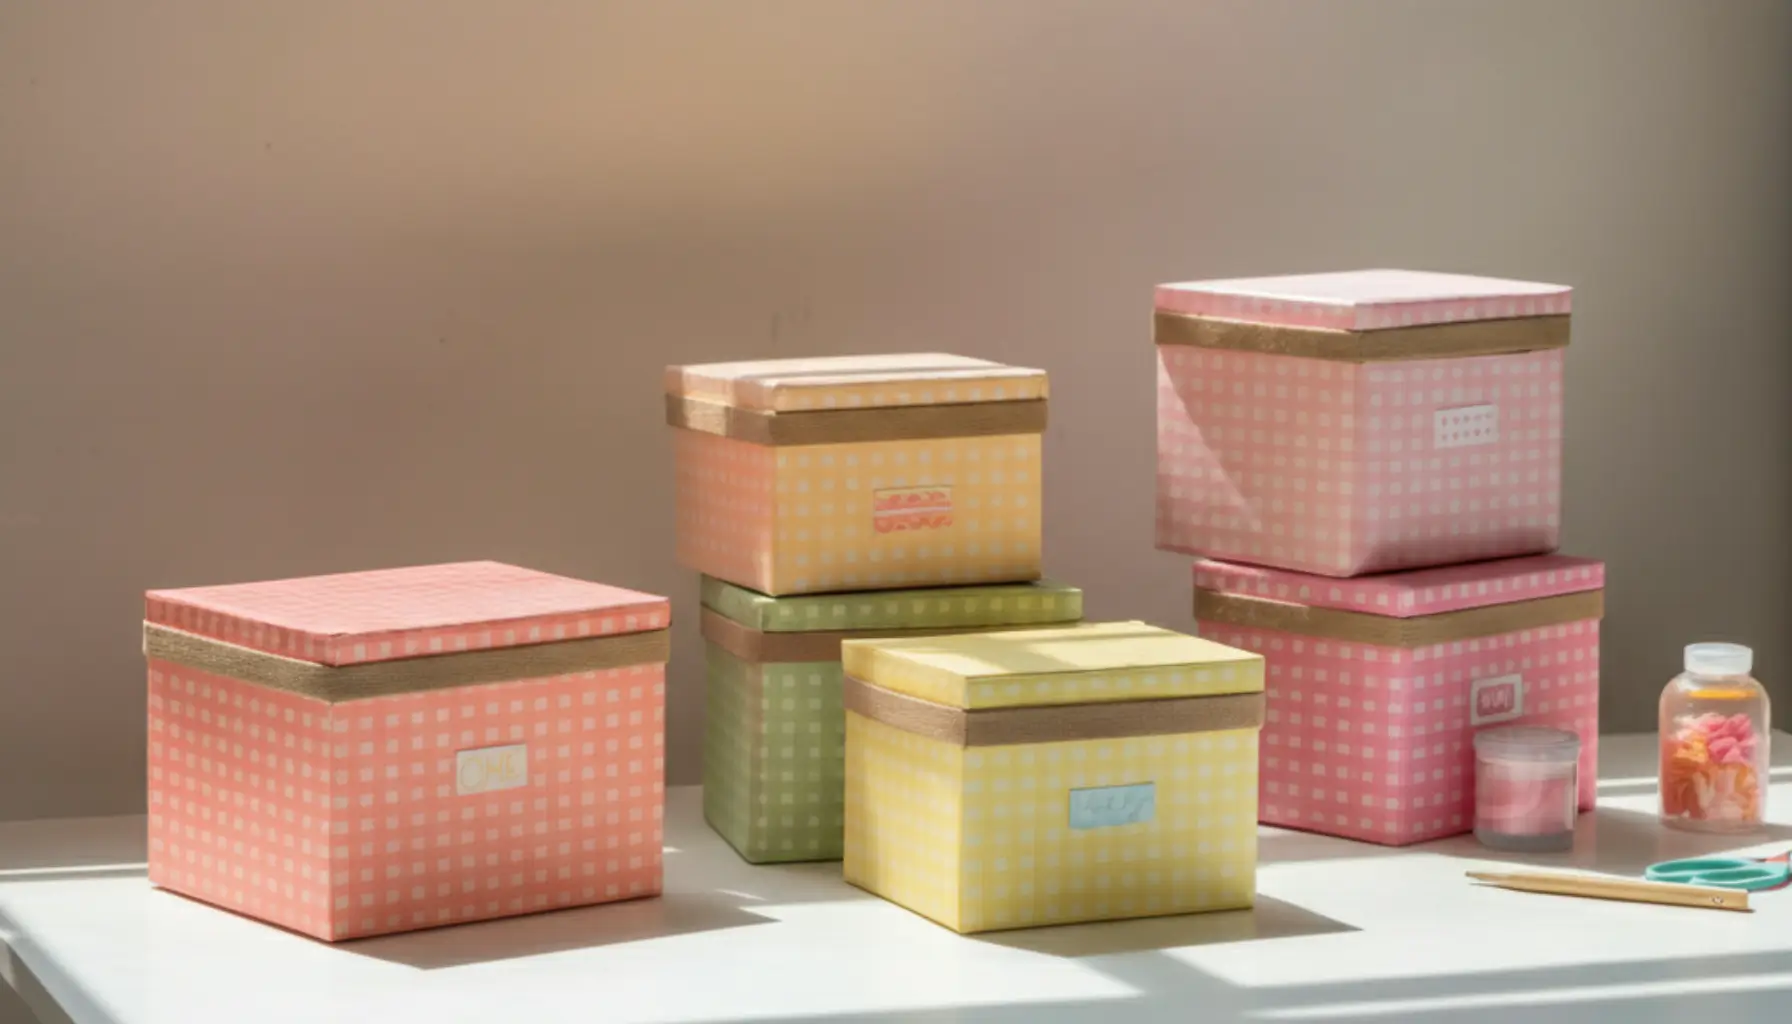
- Labels: Use printed labels or write directly onto the box to indicate its contents.
Step 7. Seal and Protect
If your box will be stored in areas prone to moisture (like a garage or basement), consider adding a clear coat of sealant or Mod Podge to protect your materials.
Inspiring DIY Storage Box Ideas
If you’re looking for even more creative ideas, here are some inspiring DIY storage box concepts to try:
- Photo Collage Box: Cover your box with old photographs for a trip down memory lane.
- Chalkboard Box: Paint the front with chalkboard paint so you can write (and rewrite) what’s stored inside.
- Seasonal Themes: Create boxes with holiday-specific designs to use for seasonal storage.
- Kraft Paper Minimalism: Keep it simple with plain wrapping paper and handwritten labels for a modern, minimalist touch.
Where to Find Affordable Materials?
- Recycling Centers: Old cardboard boxes are easy to find and often free.
- Thrift Stores: Pick up fabric scraps, ribbons, or handles at a low cost.
- Dollar Stores: Great for utensils like glue, decorative tape, and small embellishments.
- At Home: Don’t overlook items in your home that can be reused, such as old bedsheets, magazines, or jars of buttons.
Why Personalized Storage Boxes Make a Difference in Your Home
Custom storage boxes do more than just keep your items organized—they also allow you to add personality to every corner of your home. They help declutter visible spaces while keeping your essentials within easy reach. Plus, with a little effort and creativity, they can transform from ordinary containers into stunning decorative accents.
Whether you’re tackling a cluttered workspace, tidying up a kid’s room, or organizing your wardrobe, custom storage boxes are the perfect solution. They’re practical, stylish, and uniquely yours.
Transform Your Space with Personalized Organization Solutions
Creating customized storage boxes is one of those projects that proves organization and design go hand in hand. With the skills and ideas you’ve learned today, you’re ready to begin transforming your storage spaces with flair and creativity.
Pull out your craft supplies, start brainstorming designs, and don’t be afraid to experiment with different materials! Share your creations with fellow home organizers online for even more inspiration—and watch how a simple DIY can elevate your home organization game.
Happy crafting!