Planning a child’s birthday party can be both exciting and overwhelming. One of the best ways to make it special is by adding personal touches with DIY decorations. Not only is it cost-effective, but it also allows you to create a unique celebration tailored to your child’s favorite theme. Whether you’re a crafting pro or a beginner, this guide will provide all the details you need to plan, create, and execute stunning themed decorations for your child’s party.
Why DIY Decorations?
DIY decorations come with numerous benefits:
- Budget-Friendly: Making your own decorations can save you money compared to buying pre-made decor.
- Customizable: You can tailor everything to match your child’s favorite colors, characters, or interests.
- Fun and Creative: Creating decorations can be a fun activity to do with your kids, making the preparation process part of the celebration.
Now, let’s dive into how to create breathtaking themed decorations for your kids’ party.
Step 1: Planning Your DIY Decorations
Before you start making anything, a good plan is essential to ensure a smooth process and cohesive look for your party.
Choose a Theme
Every great party starts with a theme. Some popular options include:
- Jungle Safari
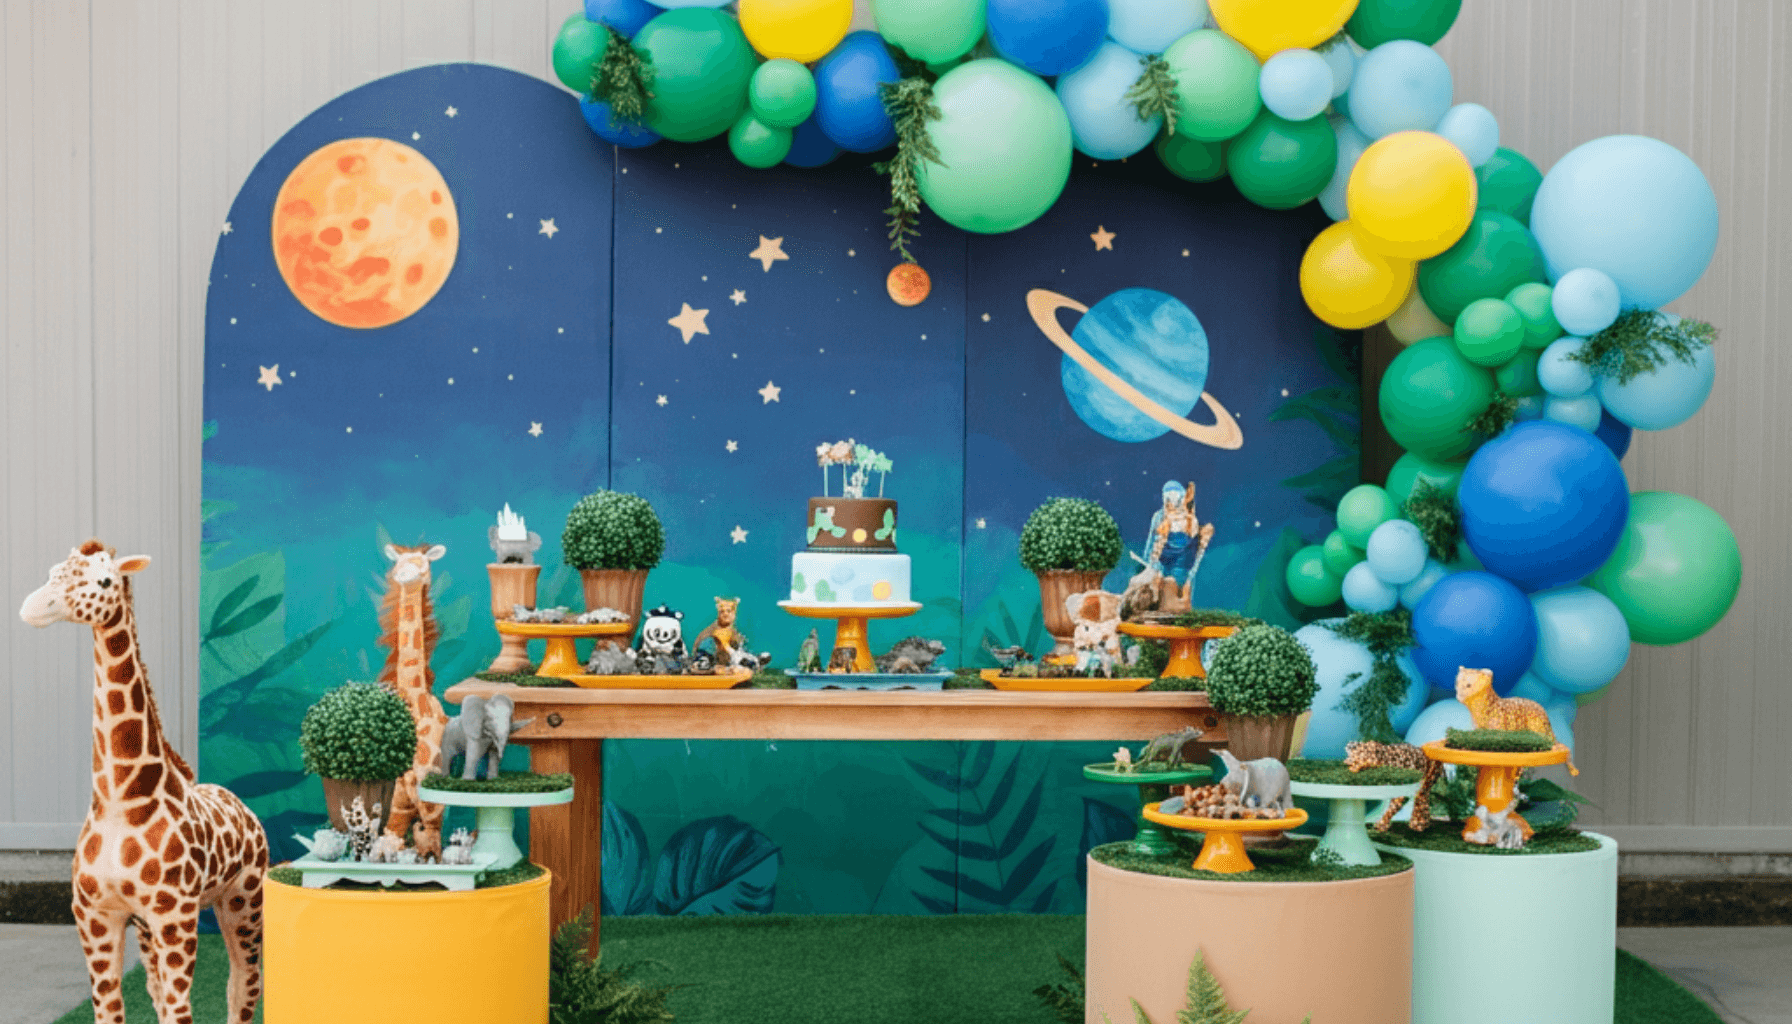
Think animal print tablecloths, vines, and a lot of greenery. - Space Adventure
Planets, stars, and rocket ships are perfect for little astronauts. - Princess or Prince Castle
Crowns, fairy lights, and pastel colors create a magical atmosphere. - Superheroes
Craft logos, masks, and capes inspired by your child’s favorite characters. - Under the Sea
Use seashells, blue hues, and ocean animals to bring an underwater world to life.
When choosing a theme, ask your child for ideas or consider their favorite movies, books, or hobbies.
Set Your Budget
Determine how much you’re willing to spend on materials. Many decorations can be made using items you already have at home or that can be purchased cheaply.
Make a Checklist
Write down everything you’ll need under the following categories:
- Materials for decorations (e.g., paper, fabric, paints)
- Tools (e.g., scissors, tape, glue gun)
- Additional party supplies (e.g., balloons, streamers)
- Optional components like lights or props
Allocate Time
DIY projects take time. Spread your tasks over several days to avoid last-minute stress. If the kids want to help, plan age-appropriate projects they can complete safely.
Step 2: Materials Needed
Here’s a handy list of materials you can use for most DIY party decorations. You don’t need everything on this list—choose items based on your designs and theme.
- Paper Products
Cardstock, construction paper, tissue paper, crepe paper. - Fabric
Felt sheets, burlap, or old bedsheets are great for banners and backdrops. - Paints
Acrylic or spray paints in your chosen colors. - Glue and Adhesives
Craft glue, glue gun, double-sided tape. - Cutting Tools
Scissors, craft knives, hole punchers. - Accessories
Ribbons, string, twine, glitter, stickers. - Recyclables
Empty jars, cardboard boxes, bottle caps, toilet paper rolls.
Once you’ve gathered your supplies, start creating! Below are step-by-step guides for various DIY decoration ideas.
Step 3: Step-by-Step Decoration Ideas
1. Balloon Garland for Any Theme
A balloon garland makes for an impressive centerpiece at any party.
What You’ll Need:
- Balloons in different sizes and colors that match your theme
- Balloon strip (a flexible plastic strip with holes for balloons)
- Balloon pump
How to Make It:
- Blow up the balloons in various sizes.
- Insert the balloon ends into the holes on the balloon strip. Alternate sizes and colors for variety.
- Once your garland is the desired length, hang it on a wall or above the party table using hooks or tape.
2. DIY Party Backdrop
A backdrop sets the tone and works as a photo booth area.
What You’ll Need:
- Large sheet or roll of plain fabric
- Paints or markers
- Props to match your theme (e.g., paper stars for space themes, greenery for jungle themes)
How to Make It:
- Spread the fabric on the floor or hang it against a wall.
- Paint or draw theme-specific patterns (e.g., trees, planets, or castles).
- Hang your backdrop behind the main party table or photo booth.
3. Themed Table Centerpieces
The centerpiece is the focal point of your table decor. These ideas are customizable based on your party’s theme.
For a Jungle Party:
- Fill mason jars with toy animals and greenery.
- Wrap jars in twine for a rustic look.
For a Space Party:
- Create paper rockets or planets and mount them on wooden sticks.
- Stick them into foam blocks inside a decorative container.
How to Make It:
- Gather decorations that suit the theme.
- Arrange the items in small vases, jars, or boxes.
- Add finishing touches like glitter or mini lights.
4. Hanging Decorations
Ceiling decorations add visual interest and charm.
Clouds for a Dreamy Theme:
- Create clouds by bunching tissue paper or cotton.
- Hang them from the ceiling using string.
Banners and Streamers:
- Cut triangles or shapes from cardstock.
- String them together to create banners or garlands.
- Add letters to personalize with names or phrases.
5. Piñata
A DIY piñata is a fun addition that doubles as decor.
What You’ll Need:
- Balloon
- Newspaper strips
- Glue (mix 1 part water to 1 part glue)
- Paint for decoration
How to Make It:
- Blow up the balloon and tie it.
- Dip newspaper strips in glue mixture and cover the balloon. Leave one small area uncovered at the bottom.
- Allow it to dry completely before popping the balloon.
- Paint the piñata in a design that matches your theme—like a superhero logo or animal face.
- Fill it with treats and seal the opening with more paper strips.
Step 4: Tips for Making it Fun and Engaging
- Get Kids Involved
Assign simple tasks to your kids, like cutting shapes or sticking decorations. It makes them feel part of the celebration. - Play Music While Crafting
Set the mood with fun songs while you work on your decorations. - Use Templates
Print templates for designs like stars, flowers, or animals to simplify the process. - Focus on Safety
Use kid-safe scissors and non-toxic glue if your little ones are helping.
Step 5: More Themed Decoration Ideas
For extra inspiration, here’s a list of simple decorations based on common themes:
Princess Party
- DIY Crowns: Cut crown shapes out of glittery cardstock and secure with elastic bands.
- Magic Wands: Attach star shapes to wooden skewers and decorate with ribbons.
Superheroes
- Logo Coasters: Print logos of superheroes and glue them onto thick cardboard.
- Flying Capes: Use old t-shirts to create mini capes for wall decorations or giveaways.
Under the Sea
- Jellyfish Lanterns: Hang paper lanterns with string streamers for tentacles.
- Bubble Balloons: Use clear balloons to mimic floating bubbles.
Farm Animal Party
- Hay Bales: Wrap cardboard boxes in yellow craft paper to resemble hay bales.
- Animal Faces: Make paper masks of cows, pigs, and chickens to use as wall decor or props.
Final Touches for Your DIY Party
Once all your decorations are ready, arrange the party space thoughtfully. Hang banners and backdrops where they’ll be most visible. Use the table centerpieces to tie everything together. Scatter any remaining thematic items around the room for added effect. Remember, the goal is to create a festive and memorable atmosphere.
By tackling DIY decorations, you don’t just save money—you also get to make the celebration uniquely personal. Plus, the time spent crafting can become a wonderful bonding experience with your child. With these ideas and tips, you’re ready to host a themed kids’ party that will leave your guests amazed!