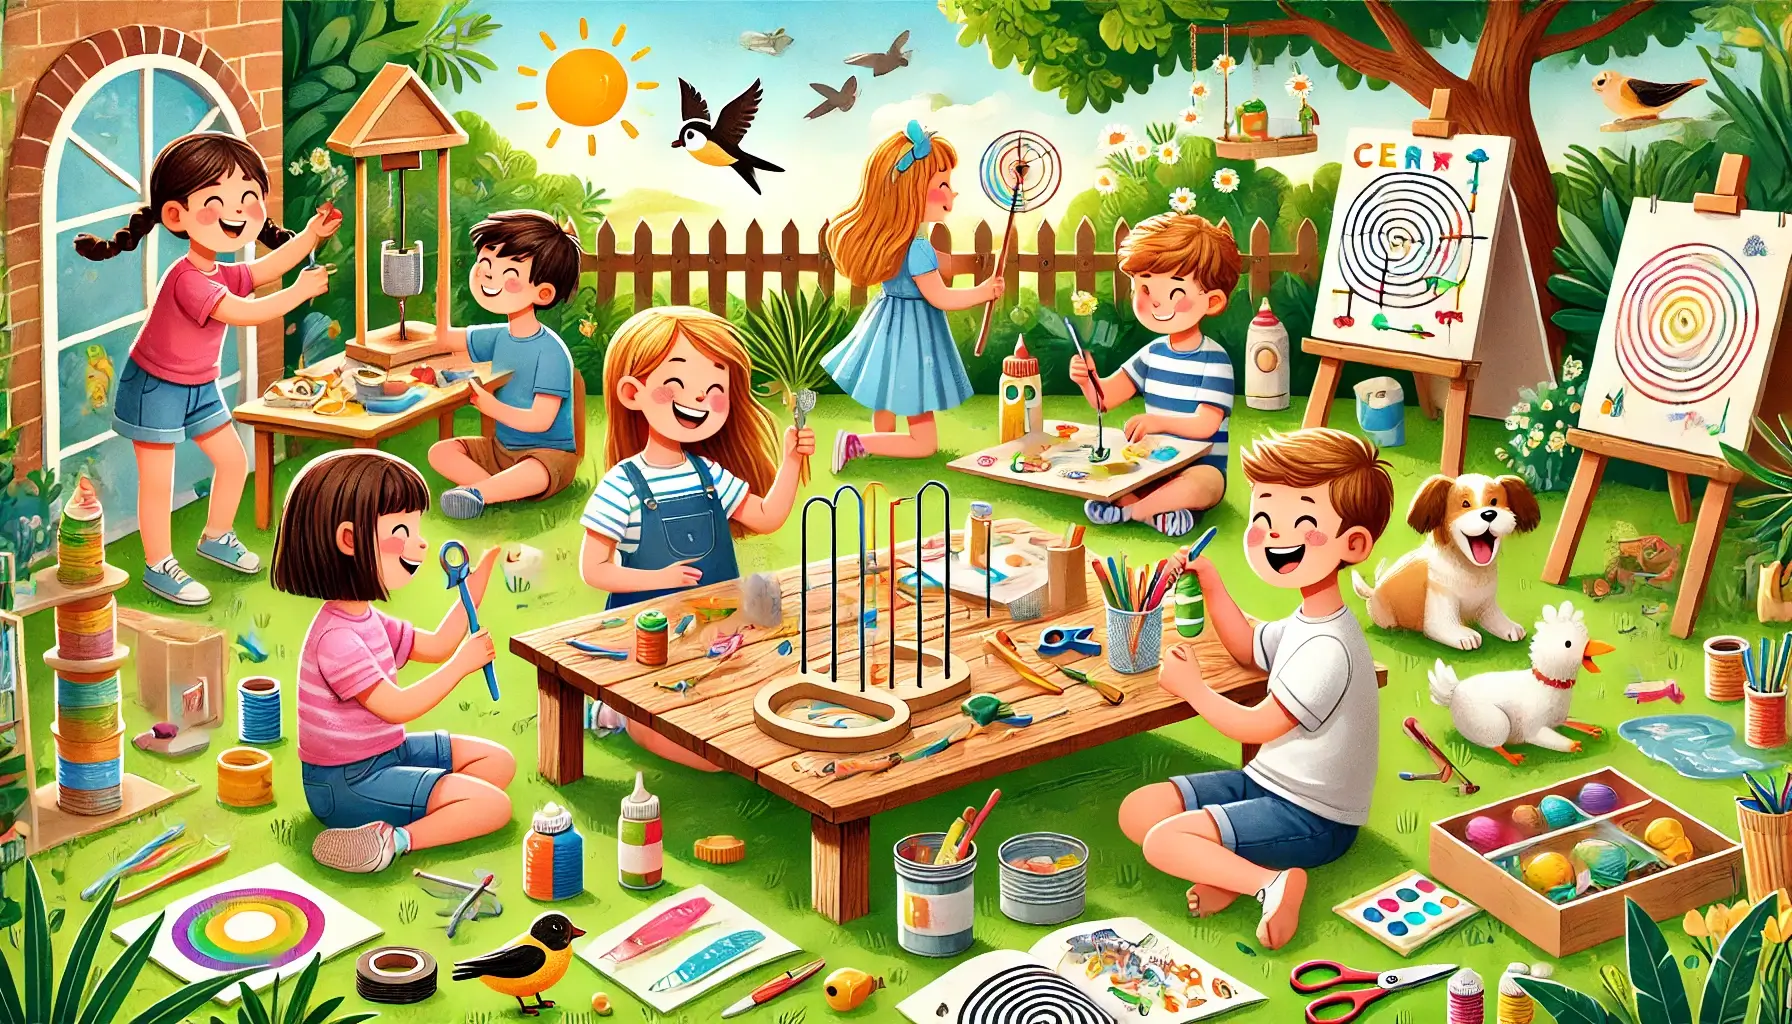
Engaging children in DIY projects can spark creativity, enhance learning, and create lasting memories. These activities are not only entertaining but also provide opportunities to develop critical thinking, fine motor skills, and problem-solving abilities. Below, you’ll find eight kid-friendly projects that are both fun and educational. Each activity includes a list of materials, step-by-step instructions, and the educational benefits it offers. Parents, there are also tips scattered throughout to ensure safety and enjoyment!
1. Paper Plate Marble Maze
This project combines engineering and creativity, making it both fun and challenging.
Materials Needed:
- Paper plate
- Drinking straws
- Scissors
- Glue or double-sided tape
- A small marble or bead
- Markers or paint (optional, for decoration)
Instructions:
- Use the paper plate as the maze’s base.
- Plan a path for the marble to travel from one end to the other.
- Cut the straws into different lengths to act as maze walls.
- Glue or tape the straws onto the plate following your maze design.
- Once the maze is complete, place the marble at the starting point and tilt the paper plate to guide it through the maze.
- Optionally, decorate the plate with markers or paint for a personal touch.
Educational Benefits:
- Teaches basic engineering and design principles.
- Promotes problem-solving and fine motor skills.
Parent Tip: Challenge older kids to create more complex maze designs, or turn it into a family competition to see who can guide the marble through the maze the fastest.
2. Homemade Bird Feeder
Introduce kids to nature and help them learn about birds in your area.
Materials Needed:
- Empty toilet paper roll
- Peanut butter (or an alternative like sunflower seed butter for allergies)
- Birdseed
- String or ribbon
Instructions:
- Spread peanut butter over the entire surface of the empty toilet paper roll.
- Roll the coated toilet paper roll in birdseed until it’s completely covered.
- Thread a string or ribbon through the roll and tie a loop.
- Hang the bird feeder on a tree branch where birds can easily access it.
- Observe and journal about the different birds that come to visit.
Educational Benefits:
- Teaches children about local wildlife and the ecosystem.
- Helps develop observation and journaling skills.
Parent Tip: Keep a bird identification book or use an app to learn about the species that visit.
3. Rainbow Baking Soda Volcano
This classic science experiment gets a colorful twist and introduces basic chemistry concepts.
Materials Needed:
- Baking soda
- White vinegar
- Dish soap
- Food coloring
- A small plastic bottle
- Tray or plastic sheet (to catch the mess)
Instructions:
- Place the bottle on a tray or protected surface.
- Fill the bottle halfway with vinegar and add a few drops of dish soap.
- Add several drops of food coloring to create a colorful eruption.
- Spoon one or two scoops of baking soda into the bottle and step back!
- Watch as the “lava” erupts in vibrant colors.
Educational Benefits:
- Demonstrates chemical reactions.
- Encourages curiosity about how and why reactions happen.
Parent Tip: Use this opportunity to explain the science behind the reaction (acid and base interaction) in simple terms to make it a mini-lesson.
4. Personalized Bookmark Making
Creative and practical, this project lets kids design their own bookmarks.
Materials Needed:
- Cardstock or thick paper
- Colored markers, pencils, or crayons
- Stickers, stamps, or other decorations
- Hole punch
- String or ribbon
Instructions:
- Cut the cardstock into bookmark-sized rectangles (approximately 2 inches by 6 inches).
- Encourage kids to decorate the bookmarks creatively using markers, stickers, or stamps.
- Punch a hole at the top and thread through a piece of ribbon or string for a finishing touch.
Educational Benefits:
- Encourages artistic expression and creativity.
- Reinforces a love for reading as kids can use their handmade bookmarks.
Parent Tip: Use this time to talk about your child’s favorite books and maybe set some new reading goals.
5. Salt Dough Handprint Keepsakes
This activity doubles as a sentimental keepsake and a science lesson.
Materials Needed:
- 1 cup of flour
- ½ cup of salt
- ½ cup of water
- Mixing bowl
- Rolling pin
- Paint and paintbrushes
Instructions:
- Mix flour, salt, and water in a bowl to form a dough.
- Roll the dough flat and cut out a circular or oval shape for the base.
- Press your child’s hand firmly into the dough to create a handprint.
- Optional: Use a toothpick to write the date or a short message.
- Bake the dough at 200°F (90°C) for 2-3 hours or until it hardens.
- Once cool, paint and decorate as desired.
Educational Benefits:
- Explores measurement and mixing in a basic recipe.
- Provides a tactile and sensory experience for young children.
Parent Tip: Be sure to supervise baking and handle the hot dough yourself to avoid burns.
6. Popsicle Stick Catapult
Introduce children to basic physics concepts with this simple building project.
Materials Needed:
- Popsicle sticks (10–12)
- Rubber bands
- Plastic bottle cap
- Glue
- Small objects to launch (marshmallows, pompoms, etc.)
Instructions:
- Stack 8–10 popsicle sticks and secure them with rubber bands at both ends.
- Take two more sticks and secure one end with a rubber band, leaving the other open like a jaw.
- Place the stack of sticks between the open ends of the two sticks and secure with another rubber band to create a fulcrum.
- Glue a plastic bottle cap to one end of the top stick (this will hold the object to be launched).
- Place a small object on the cap, press down gently, and release to see it fly!
Educational Benefits:
- Teaches the basics of levers and energy transfer.
- Encourages problem-solving and fine motor skills.
Parent Tip: Set up targets for kids to aim at to add an extra challenge.
7. Recycled Crayon Art
Repurpose old crayon bits into colorful new creations.
Materials Needed:
- Broken crayons
- Silicone mold (shapes like stars, hearts, etc.)
- Oven
Instructions:
- Preheat the oven to 250°F (120°C).
- Remove any paper wrapping from the old crayons.
- Break the crayons into small pieces and fill the silicone mold.
- Bake for 10–15 minutes or until the crayons melt.
- Allow the mold to cool completely before popping out the new crayons.
Educational Benefits:
- Teaches upcycling and the value of reducing waste.
- Encourages experimentation with colors and patterns.
Parent Tip: Use this chance to discuss sustainability and how recycling helps the environment.
8. DIY Solar Oven
Combine crafting and science with this eco-friendly project.
Materials Needed:
- Shoebox with a lid
- Aluminum foil
- Clear plastic wrap
- Black construction paper
- Tape
- Scissors
- Ingredients for s’mores (graham crackers, chocolate, marshmallows)
Instructions:
- Line the inside of the shoebox with aluminum foil to help reflect heat.
- Place black construction paper at the bottom of the box to absorb heat.
- Cut a flap in the lid of the box and tape clear plastic wrap over the opening.
- Place the box in a sunny spot and prop the flap open with a stick or pencil.
- Arrange s’mores ingredients on a plate and put them inside the “oven.” Leave it in the sun for about 30 minutes or until the marshmallows melt.
Educational Benefits:
- Teaches renewable energy concepts and how sunlight can generate heat.
- Introduces basic scientific observation and results tracking.
Parent Tip: Supervise outdoor use and ensure kids stay hydrated and sun-safe during this activity.
Final Thoughts
DIY projects are an excellent way to foster creativity, learning, and quality family time. These eight ideas offer something for everyone, whether it’s science experiments, art projects, or hands-on engineering. Don’t forget to adapt the activities based on your child’s age and interests, and most importantly, have fun!