Clay crafting is an exciting and therapeutic hobby that combines creativity with functionality. Whether you’re a beginner exploring a new artistic outlet or a seasoned DIY enthusiast, working with clay allows you to create beautiful and practical items that reflect your personal style. From jewelry and decor to home essentials, clay projects can enhance your surroundings while offering the satisfaction of making something with your hands.
In this expanded article, we’ll explore ten artistic and useful clay projects. These ideas are versatile, beginner-friendly, and adaptable, ensuring there’s something for everyone.
Why Work with Clay?
Clay is a popular material for crafting because:
- Versatility: Available in multiple types like air-dry, polymer, and ceramic clay.
- Ease of Use: Clay is soft, pliable, and forgiving, making it ideal for creatives of all levels.
- Customizable: Add color, texture, or glaze for unique designs.
- Durability: Once cured, clay is sturdy and long-lasting.
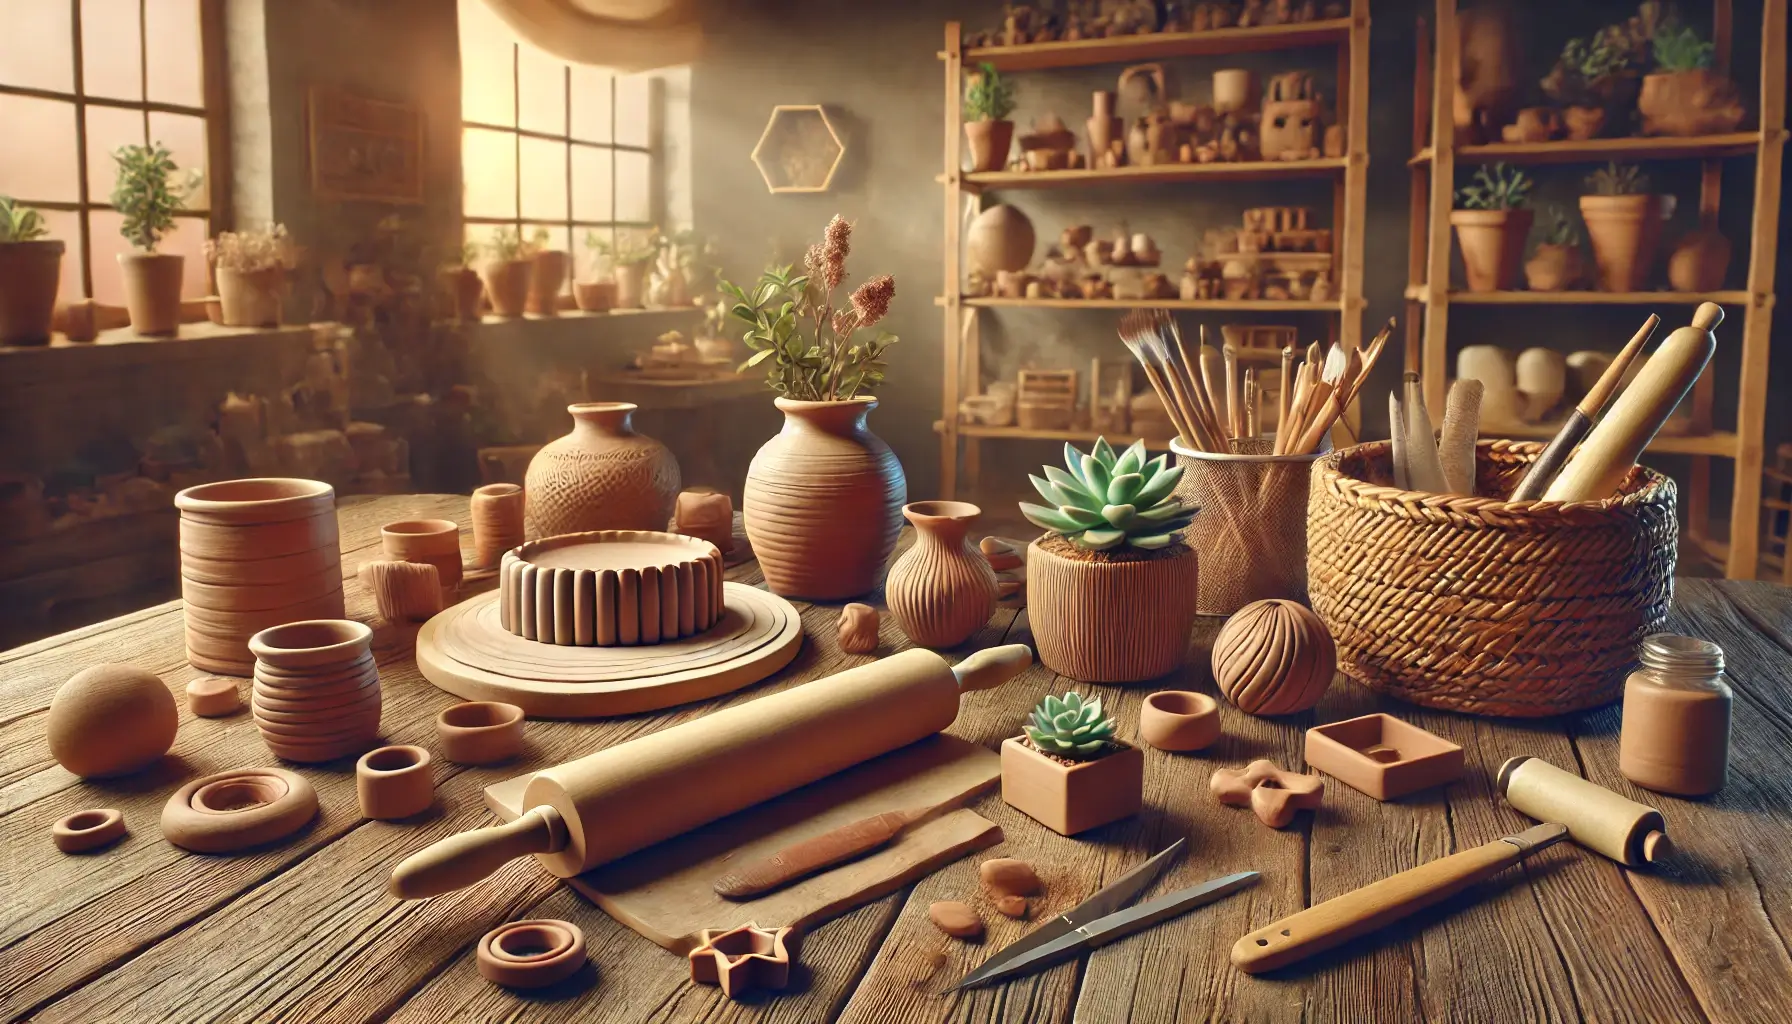
Before starting, gather these basic tools:
- Clay (type depends on your project)
- Rolling pin or smooth bottle
- Cutting tools (knives or cookie cutters)
- Sandpaper for smoothing
- Paint, glaze, or varnish for finishing
- Texturing tools (stamps, leaves, or lace)
1. Handmade Clay Jewelry
Clay jewelry is lightweight, customizable, and incredibly stylish.
How to Make:
- Choose polymer clay for its flexibility and vibrant colors.
- Roll out the clay to your desired thickness (1/8 inch works well).
- Use cookie cutters or hand-cut shapes like circles, teardrops, or abstract designs.
- Add textures or patterns using lace, stamps, or tools.
- Bake the pieces according to the clay’s instructions.
- Attach jewelry findings like earring hooks or necklace chains.
Tips for Creativity:
- Experiment with marbling by twisting two or more clay colors together.
- Use metallic paints or mica powders for a polished, modern look.
2. Elegant Trinket Dishes
Trinket dishes are both functional and decorative, perfect for storing jewelry, keys, or coins.
How to Make:
- Roll out air-dry or polymer clay to about 1/4 inch thick.
- Cut out shapes (circles, hearts, or organic forms).
- Place the clay pieces over a bowl or curved surface to shape them.
- Let the clay cure, then sand edges for smoothness.
- Paint or glaze as desired.
Design Ideas:
- Add gold leaf or metallic paint for a touch of elegance.
- Use stencils to create geometric or floral patterns.
3. Customized Plant Pots
Bring life to your plants with handmade clay pots tailored to your decor.
How to Make:
- Roll out clay into a flat rectangle and cut out pieces for the pot’s walls and base.
- Assemble the pot by joining the sides with slip (a clay-water mix).
- Smooth the seams with water and sculpting tools.
- Let the pot dry or bake, then finish with acrylic paint or glaze.
Creative Variations:
- Add stamped textures or carved designs.
- Make mini pots for succulents or herbs.
4. Unique Clay Coasters
Protect your surfaces while showcasing your creativity with custom coasters.
How to Make:
- Roll out clay to 1/4 inch thickness.
- Cut out circular, square, or hexagonal shapes.
- Use stamps, leaves, or lace to create textures or designs.
- Let the clay dry or bake, then apply a waterproof sealant.
Fun Ideas:
- Paint with bold, colorful patterns for a statement piece.
- Create sets with matching designs.
5. Decorative Wall Art
Clay wall art adds a personal, sculptural touch to any room.
How to Make:
- Roll out clay and cut shapes (e.g., leaves, abstract forms, or geometric patterns).
- Add texture or hand-etched designs.
- Insert small holes for hanging with wire or string.
- Cure, paint, and assemble into a cohesive wall display.
Styling Tips:
- Combine multiple pieces for a larger, statement artwork.
- Keep some designs raw for a minimalist look.
6. Personalized Candle Holders
Add ambiance with handmade clay candle holders.
How to Make:
- Shape clay around cylindrical objects like jars to create the candleholder base.
- Carve designs, patterns, or cutouts for decorative effects.
- Let the holder cure, then sand for smoothness.
- Paint or glaze to match your decor.
Inspiration:
- Create sets of candle holders in varying heights for a dramatic display.
- Use metallic or matte finishes for a modern touch.
7. Functional Clay Bowls
Clay bowls are great for storing small items or simply serving as decor.
How to Make:
- Roll out clay and press it into a bowl mold for shaping.
- Trim the edges and smooth them with water.
- Add textures or patterns if desired.
- Cure the clay, then paint or seal.
Tips for Durability:
- Use food-safe glaze if making bowls for serving snacks.
- Add bold color-blocking designs for a trendy look.
8. Personalized Keychains
Turn clay into a daily accessory with custom keychains.
How to Make:
- Roll out polymer clay and cut small shapes like initials, animals, or symbols.
- Add texture or tiny holes for keyring attachment.
- Bake and finish with paint or varnish.
Creative Additions:
- Include charms, tassels, or beads for flair.
- Create matching sets for gifts.
9. DIY Pen Holders
Organize your workspace with a stylish pen holder.
How to Make:
- Shape clay into a cylinder or box shape.
- Add cutouts, patterns, or layered designs.
- Let dry, sand, and finish with paint or glaze.
Tips for a Personal Touch:
- Etch your name or favorite quotes.
- Experiment with ombre paint techniques.
10. Clay Magnets
Brighten up your fridge with fun, handmade clay magnets.
How to Make:
- Roll out clay and cut into small shapes like fruits, animals, or abstract patterns.
- Let cure and paint with vibrant colors.
- Attach magnets to the back with strong adhesive.
Fun Variations:
- Create seasonal themes like holiday icons or summer motifs.
- Make miniature food items for a quirky vibe.
Additional Tips for Clay Crafting
- Start Simple: Focus on basic shapes and designs if you’re a beginner.
- Keep Clay Moist: Cover unused clay with plastic wrap or a damp cloth to prevent drying out.
- Work Clean: Use a smooth, clean surface to avoid picking up dust or debris.
- Invest in Tools: While household items work, specialized clay tools can make crafting easier.
- Seal It Right: Use appropriate sealants or glazes for long-lasting results, especially for items exposed to water.
Clay is an incredibly versatile material that lets you combine functionality with artistry. These 10 DIY clay projects are perfect for decorating your home, creating gifts, or simply exploring your creative side. With a little practice and imagination, you’ll soon be crafting clay masterpieces that are as unique as you are.