Handmade soaps are an excellent choice for those seeking a personal touch in their self-care routine or exploring a creative business opportunity. Whether you’re crafting them for your own use or to sell to others, creating handmade soaps allows you to control the ingredients, scents, and aesthetics, ensuring a truly one-of-a-kind product. This guide will walk you through the process of making handmade soaps, from understanding their benefits to marketing them effectively.
Why Choose Handmade Soaps?
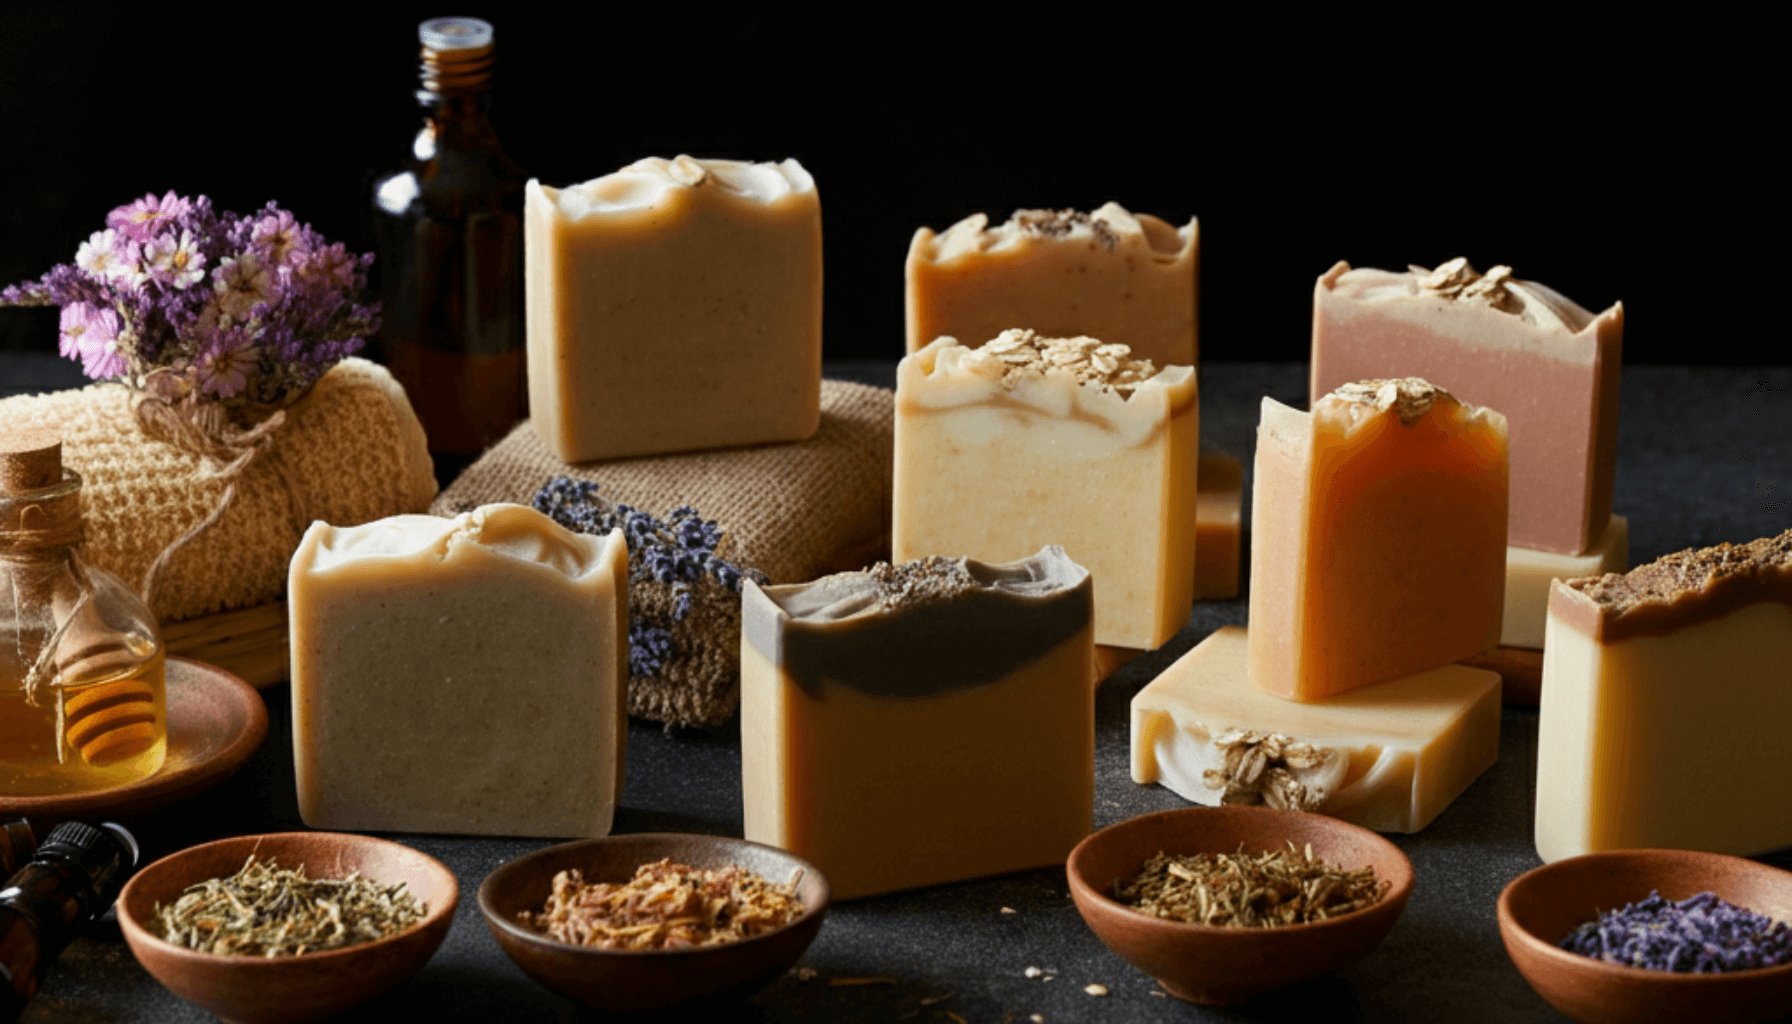
Handmade soaps have gained popularity for their quality and uniqueness. Here are some significant benefits:
- Natural Ingredients – Unlike mass-produced soaps, handmade versions often use natural oils, butter, and extracts, which are gentler on the skin.
- Skin Benefits – Handmade soaps can be customized for different skin needs, whether moisturizing, exfoliating, or soothing sensitive skin.
- Eco-Friendly – They produce less waste and often use biodegradable ingredients and sustainable packaging.
- Creative Freedom – Crafting your own soap lets you experiment with scents, colors, and shapes tailored to your preferences.
- Business Opportunity – With a rising demand for artisanal products, selling handmade soaps can be a lucrative small business venture.
Essential Ingredients and Tools for Handmade Soap
Before starting the soap-making process, gather the essential items needed. Here’s a breakdown:
Ingredients:
- Base Oils and Butters
- Common choices include olive oil, coconut oil, palm oil, and shea butter. These form the foundation of your soap, contributing to its texture and moisturizing properties.
- Lye (Sodium Hydroxide)
- This is a critical ingredient needed for saponification, the chemical reaction that transforms oils into soap. It must be handled with care.
- Distilled Water
- Used to dissolve the lye.
- Fragrance or Essential Oils
- Add scents to the soap. Popular options are lavender, peppermint, and vanilla.
- Natural Additives
- Ingredients like oatmeal, dried herbs, honey, or aloe vera can enhance the soap’s properties.
- Colorants
- Use natural pigments, clays, or mica powders for coloring.
Tools:
- Mixing Bowls – Heat-resistant bowls ideal for mixing lye and oils.
- Soap Mold – Silicon molds or wooden boxes lined with parchment paper work well.
- Stick Blender – For blending ingredients during the saponification process.
- Scale – Accurate measurements of ingredients are crucial.
- Thermometers – Ensure oils and lye solution are at the correct temperature.
- Safety Gear – Gloves, goggles, and long sleeves protect you from lye burns.
- Measuring Cups and Spatulas – For precise mixing and scraping.
Safety Precautions:
Since soap-making involves lye, always work in a well-ventilated area, wear protective gear, and avoid direct contact with the lye solution.
Step-by-Step Guide to Making Basic Handmade Soap
Follow these steps to create a simple but effective handmade soap using the cold-process method:
1. Prepare Your Workspace
- Cover your workspace with newspaper or plastic to protect surfaces.
- Arrange your ingredients and tools for easy access.
2. Measure Ingredients
- Use a scale to measure each oil and butter according to your selected recipe.
- Weigh the lye and distilled water separately.
3. Create the Lye Solution
- Slowly add lye to the distilled water (never the reverse) while stirring until dissolved. The solution will heat up, so handle with caution.
- Allow the lye solution to cool to a temperature between 100°F and 120°F.
4. Heat Oils and Butters
- Melt the solid butters (like shea or cocoa butter) over low heat, then mix them with liquid oils in a large bowl.
- Cool the mixture to the same temperature range as the lye solution.
5. Combine Lye and Oils
- Carefully pour the lye solution into the oil mixture. Use a stick blender to blend until the mixture reaches “trace” (the point where it thickens and holds its shape briefly when drizzled).
6. Add Custom Touches
- Once at trace, add essential oils, colorants, or any additives (e.g., oatmeal, dried flowers). Mix thoroughly but quickly.
7. Pour into Molds
- Transfer the mixture to your soap mold, smoothing the surface with a spatula.
8. Allow to Set
- Cover the mold with plastic wrap or parchment paper, then insulate it with a towel to retain heat.
- Leave to set for 24-48 hours.
9. Unmold and Cure
- Once firm, remove the soap from the mold and cut it into bars.
- Cure the bars in a cool, dry place for 4-6 weeks to complete the saponification process and harden the soap.
Tips for Customizing Your Handmade Soap
Handmade soap gives you the flexibility to be creative. Here’s how to customize them:
- Scents: Blend essential oils such as eucalyptus and tea tree for a refreshing aroma or use orange and cinnamon for a warm, spicy vibe.
- Colors: Try natural options like turmeric for golden hues, spirulina for green, or activated charcoal for black.
- Textures: Include exfoliants like ground coffee, poppy seeds, or fine sugar for scrubbing properties.
- Shapes: Use creative molds to make soaps shaped like flowers, hearts, or geometric designs.
Experimentation is key—test small batches to discover what works best.
Packaging Ideas for Selling Handmade Soap
Packaging plays a significant role in attracting customers. Consider these ideas:
- Eco-Friendly Wrapping: Use recycled kraft paper or fabric wraps tied with twine.
- Labels: Include handwritten or printed labels stating the soap’s ingredients, benefits, and scent.
- Box Design: Package in decorative cardboard boxes with cut-out windows to showcase the soap.
- Gift Sets: Bundle multiple bars together in a set with complementary scents.
- Minimalist Approach: Wrap with clear biodegradable bags and a simple tag for a clean look.
Always ensure your packaging aligns with the branding and style you want to convey.
Marketing Strategies for Selling Handmade Soap
If you’re planning to sell your soap, an effective marketing strategy is essential. Here’s how you can promote your product:
1. Identify Your Audience:
Understand your target market—whether it’s eco-conscious buyers, skincare enthusiasts, or gift shoppers.
2. Build an Online Presence:
- Website: Create a small e-commerce website featuring product details and an online store.
- Social Media: Post high-quality photos and videos of your soap-making process. Platforms like Instagram and Pinterest can showcase the aesthetic appeal of your products.
3. Utilize Local Markets:
- Participate in craft fairs, farmers’ markets, or local events to engage directly with customers.
4. Focus on Branding:
- Develop a memorable brand by choosing a unique logo, theme, and scent profile for your soaps. Consistency helps build recognition.
5. Offer Samples and Promotions:
- Distribute small samples in your community or offer discounts to new customers.
6. Gather Reviews:
Encourage happy customers to leave positive reviews online to build trust with new buyers.
Final Thoughts
Handmade soap-making is a rewarding process that combines creativity with practicality. Whether you’re looking to create natural soaps for personal care or enter the fast-growing artisanal market, it’s an opportunity to enjoy a fulfilling hobby or establish a meaningful business venture. By following the steps, tips, and strategies detailed in this guide, you’ll have all the tools you need to get started. Get creative, experiment with ingredients, and soon you’ll be crafting soaps that are as functional as they are beautiful.